WHAT IS WAMPSERVER?
WampServer is a Windows Web development environment for PHP, Apache and MySQL databases. This means web applications that require PHP and Apache such as WordPress can be run from a computer.
For developers, WampServer can help you work faster on your local computer before uploading the finished website files to your cloud web hosting server. This is Cool right 😉
By working on your local computer, you eliminate the time it takes to download and upload when you work directly from your web hosting server. Imaging you have slow internet, even worse, imaging you just edited a PHP file and while saving it, your internet cuts off. In this case, your PHP file upload will break and your whole website will break as well.
This is where WampServer comes in. By working locally you avoid all the wait time and risk of breaking your website. You also have the chance to browse your files and detect issues fast locally, this is particularly handy for WordPress Theme Developing
1. DOWNLOAD WAMPSERVER
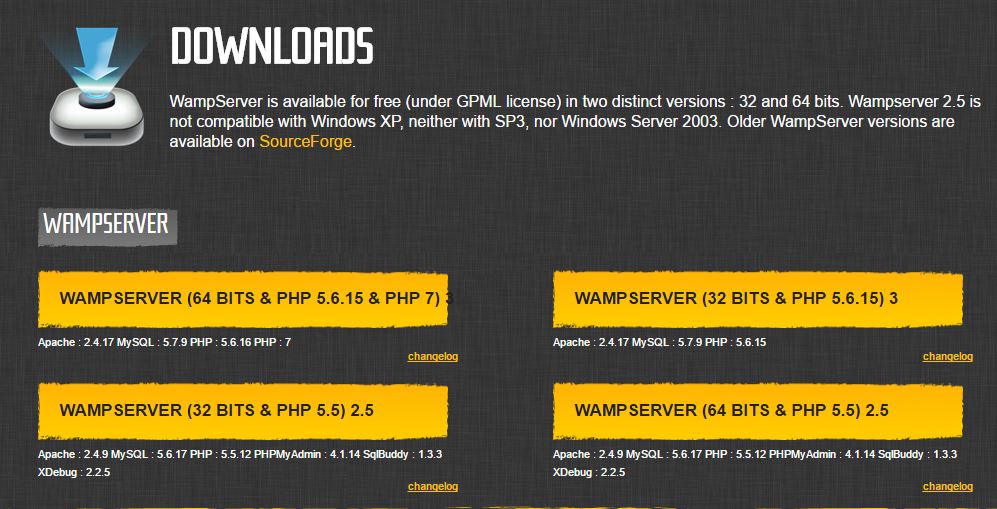
Installing is easy. CLICK HERE to download and save the latest version of WampServer to your desktop. Be sure to download the right file for your computer, if your computer supports 64bits, then download WampServer 64bits else 32bits.
2. INSTALL WAMPSERVER
Double click on the file you just downloaded and follow the install process.
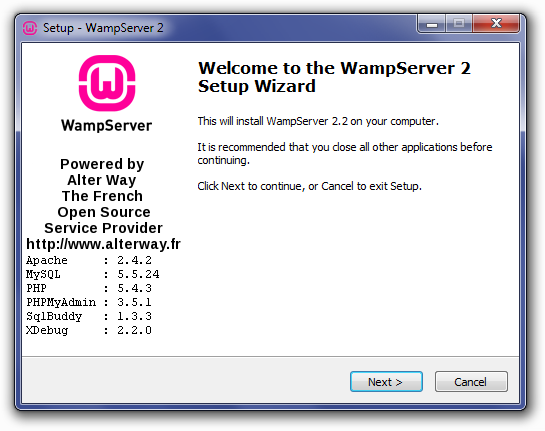
After the install process, run the Server. The status of the Server should display green which means the server is active or online and ready for use. If it does not show green, it means another application is perhaps using the same port as the WampServer, in this case, you will need to close all applications and restart WampServer. Some applications that are known to cause WampServer not showing online includes Skype and some other game applications that use Port 80.

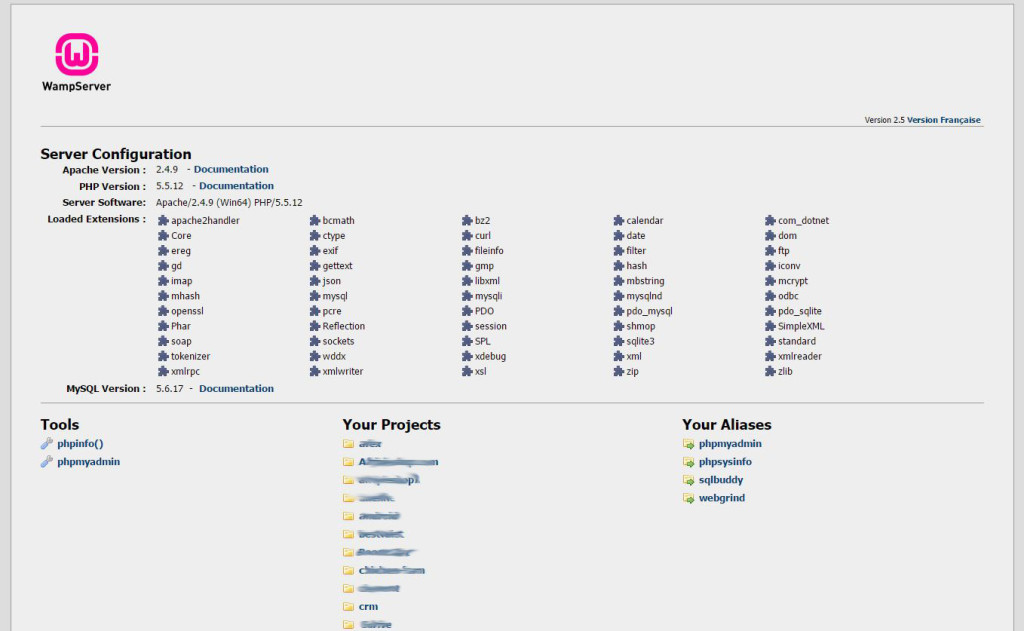
When your WampServer shows online, you can open your browser and point to http://localhost/ which will display the home page of the WampServer. You should see the Server Configuration and links to phpmyadmin and sqlbuddy where you can create new database and database users to manage your database.
Under “Your Projects” will be your various projects websites. Any new project you work on will display here and you can access and browse your projects directly from here.
Under “Your Aliases“, you will find links to phpmyadmin and sqlbuddy, these two you will need to create new database in case the project you are working on requires database especially WordPress Development.
3. PROJECTS FOLDER
The projects folder contains your web developments sites. If you left the destination location to the default location during the installation process, then your projects folder should be located at C:\wamp\www
The www folder is the folder that will host all your website projects. Each folder you create in this location will appear in Your Projects Folder in the WampServer home page.

So if you want to install a new WordPress website… you will create a folder called wordpress in the www folder “C:\wamp\www\wordpress” which will contain your WordPress install files.
To browse your local website link , you will go to http://localhost/wordpress/
4. CONFIGURATION
Now that you have installed WampServer, you may want to configure it to suit your need. The first step is very important as this will enable you to easily browse through your project websites by just clicking on the folder under Your Projects in the WampServer home page.
In the www folder “C:\wamp\www ” you should find index.php in this file you will need to make one change to the file.
Open this index.php file in your code editor.
On line 338 change the ‘http://’ to ‘http://localhost/’
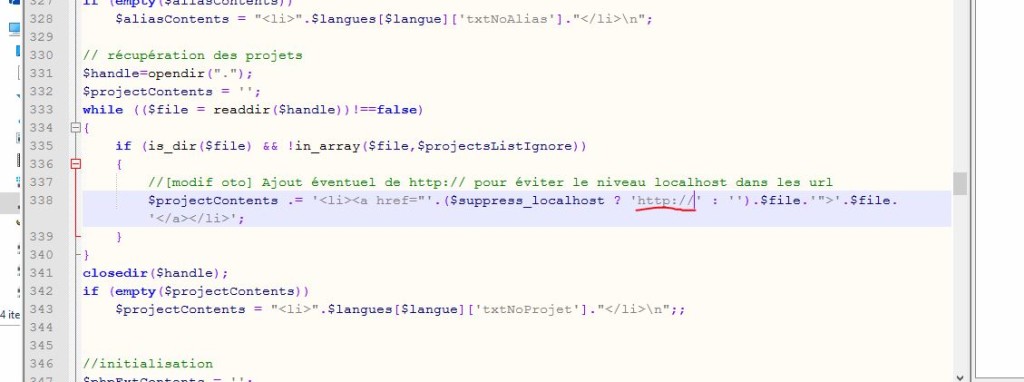

This tiny change will make sure that when you click on a project in the WampServer home page, you will be directed to the right website link thus http://localhost/wordpress instead of http://wordpress
WELL DONE!!.
You have now installed WampServer on your local computer and ready for your web development projects.
In my next tutorial, i will teach you how to configure your Server to enable you access your website projects from all devices including your smart phones, tablets and laptops. Your computer will act as a web server. This will enable you work on your WordPress Theme from your laptop as well, while you sit in the couch and sip champagne 😀
Leave a comment if something is not clear to you or you want to add something more to this tutorial to help other…